
The ESP32 is a strong microcontroller with built-in Wi-Fi, making it a wonderful selection for IoT initiatives. On this information, we are going to stroll you thru learn how to acquire soil moisture information from a 2-prong soil sensor, ship it to the cloud utilizing Telemetry Harbor, and visualize it utilizing a Grafana dashboard
The ESP32 is a strong microcontroller with built-in Wi-Fi, making it a wonderful selection for IoT initiatives. On this information, we are going to stroll you thru learn how to acquire soil moisture information from a 2-prong soil sensor, ship it to the cloud utilizing Telemetry Harbor, and visualize it utilizing a Grafana dashboard. Let’s dive in!
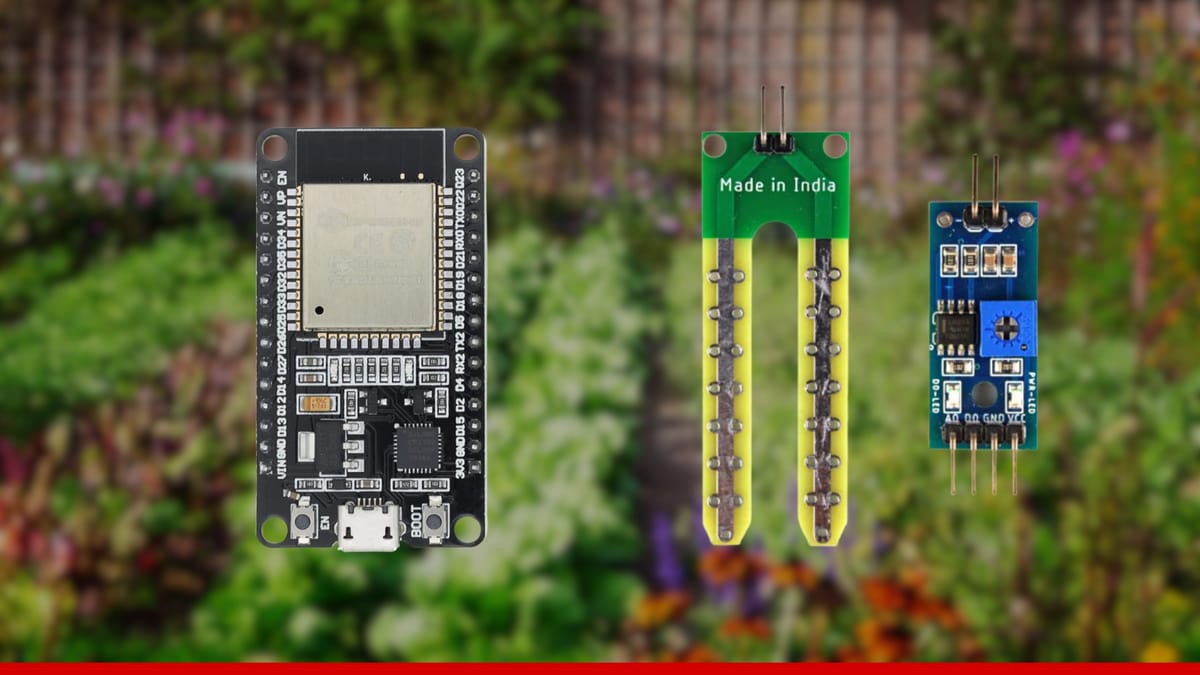
{Hardware} Necessities
Software program Necessities
- Arduino IDE (1.8.13 or newer)
- Required libraries:
- Telemetry Harbor SDK
- WiFi Library (constructed into ESP32 core)
- HTTPClient Library (constructed into ESP32 core)
- Telemetry Harbor account (free tier accessible)
Step 1: Setting Up Your Improvement Setting
Putting in ESP32 Board Help
- Open Arduino IDE
- Go to File > Preferences
- Add the next URL to the “Further Boards Supervisor URLs”:
https://uncooked.githubusercontent.com/espressif/arduino-esp32/gh-pages/package_esp32_index.json- Go to Instruments > Board > Boards Supervisor
- Seek for “ESP32” and set up the ESP32 by Espressif Methods
Putting in Required Libraries
- Go to Sketch > Embody Library > Handle Libraries
- Seek for and set up:
Step 2: Wiring the 2-Prong Soil Sensor to ESP32
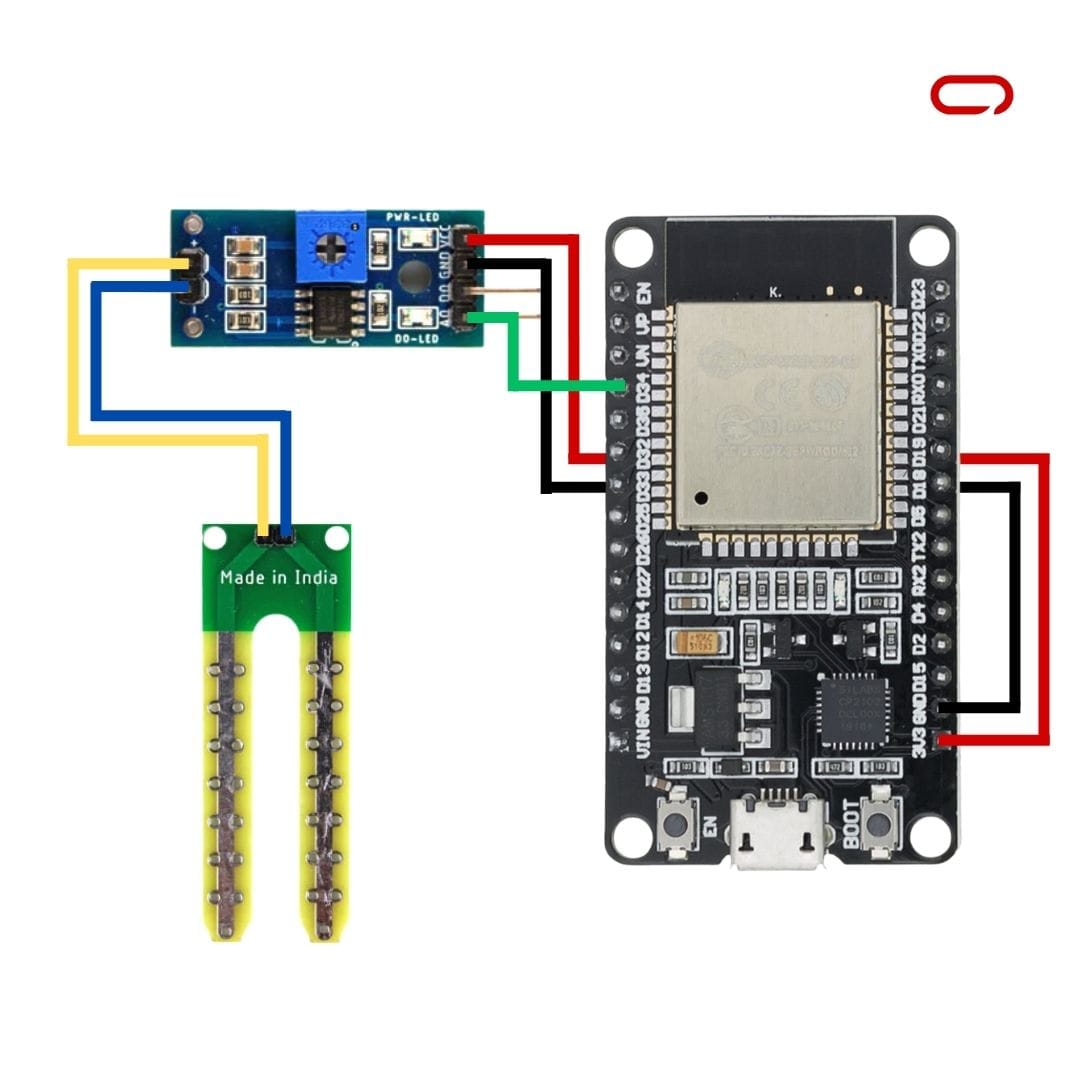
The two-prong soil sensor makes use of analog output, which requires simply three connections:
| Soil Sensor PIN | ESP32 PIN | FUNCTION |
|---|---|---|
| VCC | 3.3V | Energy |
| GND | GND | Floor |
| A0 Analog | GPIO 34 | Analog Information |
Step 3: Setting Up Telemetry Harbor
Telemetry Harbor gives a simple platform for gathering, storing, and visualizing IoT sensor information. Comply with these steps to arrange your account:
Create an Account:
Go to Telemetry Harbor and join a brand new account.
Create a New Harbor:
- Out of your dashboard, click on Create New Harbor
- Identify it one thing descriptive like “ESP32_Soil_Monitor”
- Choose the harbor kind as Common and Specification Free
Generate an API Key:
- Navigate to “View Particulars” on your created harbor
- Click on “View API Key”
- Copy and save your API Key securely – you will want it on your ESP32 code
- Word your API ENDPOINT from the API Endpoint
Step 4: Importing and Testing the Code
The whole code for this mission is offered in our GitHub repository. You may view and obtain it straight:
Getting the Code:
- Go to the Repository: Click on the GitHub hyperlink above
- Discover the Essential Code File: Search for
ESP32_Soil_Sensor_Telemetry_Harbor.inowithin the repository - Obtain Choices:
- Possibility A: Click on the file identify, then click on “Uncooked” to view the code straight, then copy-paste into Arduino IDE
- Possibility B: Click on the inexperienced “Code” button and “Obtain ZIP” to get all mission recordsdata
- Possibility C: Use the direct hyperlink: ESP32_Soil_Sensor_Telemetry_Harbor.ino
Configure the Code:
// WiFi credentials
const char* ssid = "YOUR_WIFI_NAME";
const char* password = "YOUR_WIFI_PASSWORD";

// Telemetry Harbor API data
const char* harborEndpoint = "YOUR_API_ENDPOINT";
const char* harborApiKey = "YOUR_API_KEY";
const char* shipId = "Backyard 1";

// Sleep interval (5 minutes default)
const int SLEEP_INTERVAL_SEC = 5 * 60;- Exchange the WiFi SSID and password along with your community credentials
- Replace the Telemetry Harbor API URL and API key along with your account particulars
- Alter the sensor studying interval if wanted (default is 5 minutes)
- Customise the
shipIdto determine your monitoring location
Choose the Right Board:
- Go to Instruments > Board and choose your ESP32 board mannequin
- Choose the right COM port beneath Instruments > Port
Add the Code:
- Click on the Add button (→) in Arduino IDE
- Look ahead to the compilation and add to finish
Confirm Operation:
- Open the Serial Monitor (Instruments > Serial Monitor) set to 115200 baud
- Examine for profitable WiFi connection and sensor initialization
- Monitor soil moisture readings and confirm information transmission
- Affirm information is being despatched to Telemetry Harbor
Step 5: Visualizing Information with Telemetry Harbor
As soon as your ESP32 begins transmitting soil moisture information, you may create highly effective visualizations in Telemetry Harbor by its built-in Grafana dashboards:
Entry Grafana Credentials:
- Return to the Harbor Particulars web page
- Copy the Grafana Password proven on this web page
- Click on on the Grafana Endpoint hyperlink offered
Login to Grafana:
- Use your Grafana Username (this would be the similar as your Telemetry Harbor electronic mail)
- Enter the Grafana Password you copied earlier
Navigate to Dashboards:
- Within the left sidebar, click on on Dashboards
- Choose the Complete Telemetry Dashboard (that is the demo dashboard offered by Telemetry Harbor)
Configure Your Dashboard View:
- Select your information supply (which will probably be your harbor)
- Use the filters to view information based mostly on ship_id and cargo_id
- Choose applicable time ranges to view your soil moisture historical past
- Arrange alerts for moisture thresholds (e.g., beneath 30% = watering wanted)
Harbor AI: Your Good Backyard Assistant
One of the vital thrilling options of Telemetry Harbor is Harbor AI – an clever assistant that may analyze your backyard information and supply insights in pure language. Harbor AI combines basic agricultural data along with your particular sensor information to present you personalised gardening recommendation.
Instance Dialog with Harbor AI:
You: “How is my Backyard 1 doing?”
Harbor AI: “Let me assessment the most recent key environmental metrics that affect plant well being: soil moisture, temperature, humidity, and photo voltaic radiation.
This is an replace in your Backyard 1 based mostly on the most recent information:
- Soil Moisture: Regular at round 70%, which is a wholesome moisture degree for many vegetation.
- Temperature, Humidity, Photo voltaic Radiation: There are not any current readings accessible for these metrics within the newest information.
General, your backyard’s soil moisture seems to be good, indicating well-watered soil.”
Harbor AI Can Assist You:
- Assess plant well being based mostly on a number of sensor readings and horticultural data
- Establish optimum circumstances on your particular vegetation utilizing correlation evaluation
- Detect issues early by anomaly detection earlier than they turn out to be severe
- Plan forward with development evaluation and forecasting
- Make data-driven choices with aggregated insights from all of your sensors
This AI-powered evaluation transforms uncooked sensor information into actionable gardening insights, making it simple for anybody to know their backyard’s wants with out being an information knowledgeable or plant specialist.
Conclusion
Your ESP32 is now up and working with the 2-prong soil sensor, streaming reside soil moisture information to Telemetry Harbor. With this setup, you may monitor your backyard’s hydration wants in actual time and make data-driven watering choices.
Wish to take it additional? Strive including a number of sensors for various backyard zones, organising automated irrigation alerts, and even integrating climate information for smarter watering schedules. The ultra-low energy design means your sensors can run for months on a single battery, making this excellent for distant backyard monitoring. The chances are limitless!