
We’ll stroll you thru including a show module to your FakeTec Meshtastic Gadget to indicate messages, node data, and community standing in real-time.
On this information, we’ll stroll you thru including a show display screen (OLED) module to your present FakeTec Meshtastic Node to show messages, node standing, community data, and navigation menus instantly in your gadget.
{Hardware}
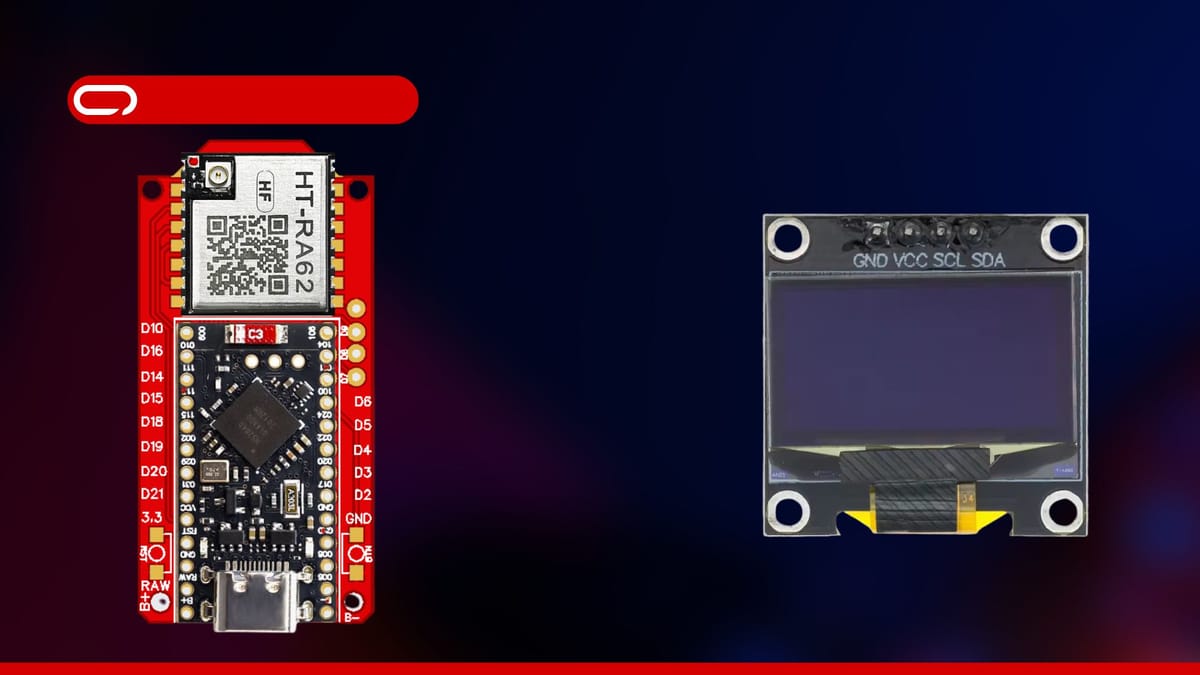
Now let’s get began with the {hardware} you want:
📢
When ordering from AliExpress, contemplate consolidating your purchases from a single vendor to maximise financial savings. For example, should you’re buying an antenna from vendor X, examine if additionally they supply an IPEX to SMA-Ok cable. By sourcing all of your objects from one vendor, you’ll be able to considerably cut back transport prices.
💡
OLED shows come in several sizes and interfaces. We suggest the 0.96″ I2C OLED SSD1306 for optimum compatibility and display screen actual property.
When you can modify this {hardware} choice, we have chosen available elements. Notice that soldering is simply required to connect headers to the FakeTec Node and the OLED show module. This step will be outsourced to an area electronics store should you favor to keep away from soldering your self.
Meeting
The {hardware} is all prepared and set now to the wiring. For this, we’ll comply with the next schematics.
OLED SSD1306 Show → FakeTec Meshtastic Node
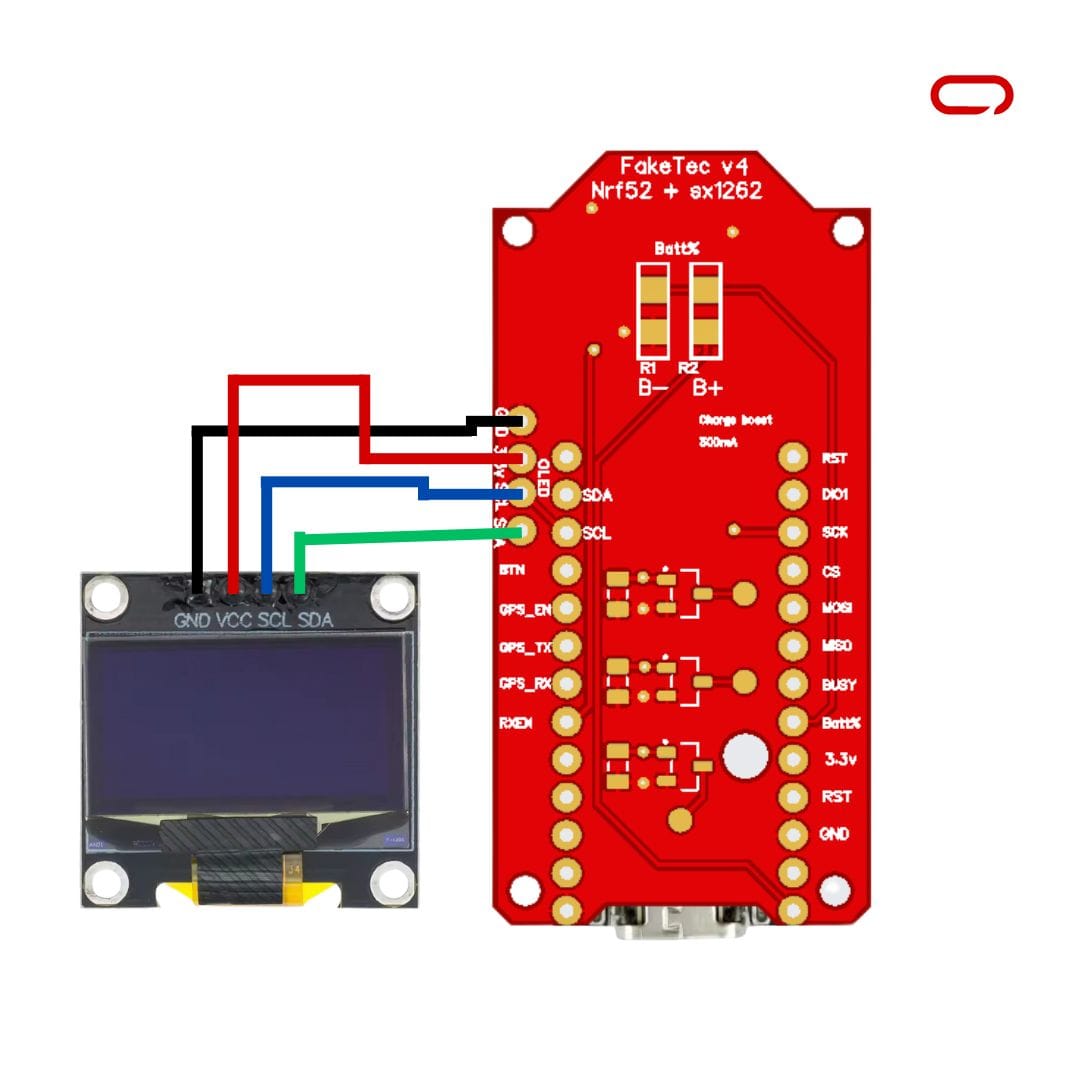
- VCC/VIN → 3.3V (OLED shows usually run on 3.3V)
- SCL → SCL Pin (I2C Clock)
- SDA → SDA Pin (I2C Information)
- GND → GND Pin
💡
When you’ve got different I2C units (like BME280 sensor) linked to the identical pins, you’ll be able to join the OLED show in parallel with these units. I2C helps a number of units on the identical bus
💡
Including decoupling capacitors is nice apply to isolate completely different components of the circuit from one another and guarantee steady energy supply to the show
💡
Vital Notice: The precise pin structure could range in your particular FakeTec board. All the time comply with the labels and pin designations in your elements and the offered schematics to make sure correct connections. Double-checking these particulars will assist stop potential points or element harm.
After finishing all connections, confirm that they match the advisable configuration earlier than continuing to the subsequent stage.
Meshtastic Settings
- Open Meshtastic App (iOS/Android)
- Hook up with your FakeTec gadget by way of Bluetooth
- Go to the Settings web page
- Navigate to Gadget Config
- Choose Show
- Configure the next settings:
- Display On Interval: Set how lengthy the display screen stays on (e.g., 60 seconds)
- Auto Display Carousel Interval: Time between automated display screen adjustments (e.g., 10 seconds)
- GPS Format: Select coordinate show format
- Show Models: Choose metric or imperial items
- OLED Kind: Choose SSD1306 (if out there in choices)
- Show Mode: Select what data to indicate by default
- Further Show Choices:
- Flip Display: Allow in case your show is mounted the wrong way up
- Wake on Faucet: Allow display screen activation on gadget motion (if supported)
- Heading Daring: Make compass heading extra outstanding
- Save Configuration and restart your gadget
Conclusion
Including a show module to your FakeTec Meshtastic Node considerably enhances the consumer expertise by offering real-time visible suggestions with out requiring a smartphone app. Whereas some soldering could also be required for header set up, this may be simply delegated to an area electronics store if wanted.